Recently, I was asked about the method I use to transfer my drawings to the canvas. The only response to this question of procedure I can honestly answer is that, when it comes to transferring my ideas to their final support, I am consistently inconsistent. That is to say, I have no particular method that I use all of the time. Rather, I will alter my approach depending the size of the sketch and/or the finished work, whether the finished painting will be executed using indirect or direct painting methods, whether or not the drawing will stand on its own as a work of art, the key of the painting, time constraints, and, frankly, a little bit of whim.
The earliest manner of transferring images I ever learned was tracing, which was introduced to me when I was around five or six years old. I used the "Poor Man's Lightbox" method then, placing a page from one of my coloring books on the sliding glass door to our backyard patio, and laying on top of this a plain piece of 8 ½ X 11 typewriter paper. With the pieces of paper made translucent by the sunlight passing through them from behind, it was easy to follow the contours of the printed line-drawing with a graphite pencil and make a decent duplicate on the top sheet. It worked well enough because of the lightweight paper being used, but, unfortunately, such a process cannot work with an opaque material, such as canvas. Nevertheless, it was an important youthful lesson, as nearly every method of transferring I use now involves tracing of some sort, either from the original to a piece of transparent or translucent material, or on the original itself.
Since I normally do not work very large, I usually make my drawings the same size as my finished works, which makes transfers very easy. The most direct manner of transferring a drawing involves coating the entire backside of the original with graphite or charcoal, placing it image-side up on the final working surface, and using a stylus or writing implement to re-outline the original drawing. If the right amount of pressure is used, the charcoal or graphite outline will be transcribed to the canvas or panel, resulting in a good copy on which to paint. If for some reason I do not want to coat the back of my original with graphite or charcoal, I can always make a transfer sheet by coating a thin piece of paper (e.g. tracing paper) with the graphite or charcoal, and placing this between my drawing and the work surface before re-outlining my image. The result is the same, though the use of the transfer sheet may require slightly more pressure to make a good transfer. Once the drawing has been conveyed to the final surface, I will usually affix it with a sealant (e.g. spray shellac), or I will re-outline the drawing using thinned oil paint, and a fine "pencil" (a pointed, round brush). If the latter method is used, excess charcoal or graphite should be removed once the lines are dry, using a chamois or kneaded eraser. Either way, when the drawing is ready to paint over, there will not be much loose graphite or charcoal left to mix with my paints and dirty the colors. I do not recommend using pre-made, commercial graphite transfer paper for this work, however, as the few times I have tried it were quite disappointing. Whatever binder is used to seal the graphite to the commercial paper is rather waxy, and the lines which are transferred to the work surface tend to repel thinned paint and cause it to bead.
 |
| Transferring a drawing using tracing paper. Artwork by Dorian Iten. (register for classes with Iten at The Art Department) |
A similar method to what I just described involves the "lightbox procedure" I mentioned earlier. It is like using transfer paper, but in reverse. I place my drawing image-side down on a lightbox (or against a window), and trace my drawing on the back of the original. I can then place this on my work surface, image-side up, and go over my original drawing again with a stylus, ballpoint pen, 2H pencil, etc., to create enough pressure to transfer the drawing. Of course, since the drawing has already been traced quite accurately on the back, I do not have to be very careful with how I apply pressure to the frontside; even forceful scrubbing will work.
Without a lightbox, this process can also be done with tracing paper. After laying the tracing paper on the original, and outlining the drawing, flip the tracing paper over, and re-do the lines on the reverse. Place it right-side up on the canvas or panel, and using pressure, the drawing can be transferred to the final support.
I actually prefer these latter two methods (what I am calling the "lightbox" method), to the usual charcoal/graphite transfer method, because I feel that it is easier in these ways to preserve the character of my original linework. The former methods of transfer tend to produce a line on the work surface that is a bit too uniform and lifeless for my tastes.
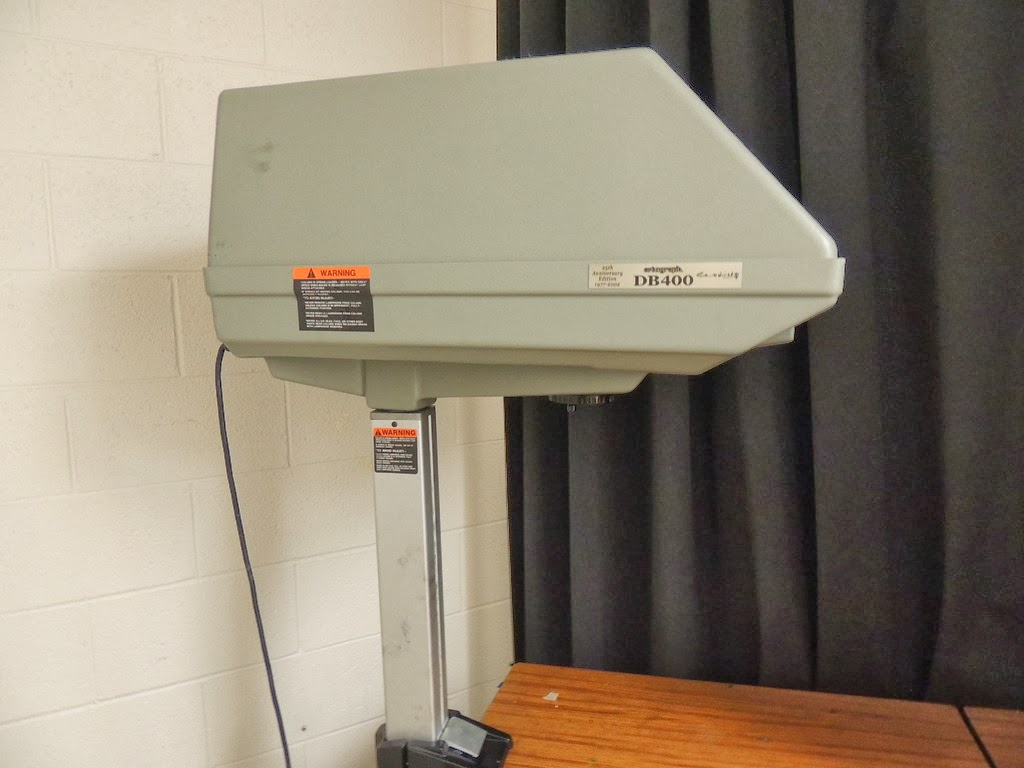 |
| This old Artograph DB400 that was auctioned off by Salt Lake Community College in 2013. The winning bid was only $25! |
When I worked as an illustrator, and time constraints were always an issue, I sometimes found myself turning to other methods for transcribing my sketches. Frequently I used an opaque projector to cast my image on the final surface, and trace its outlines in the darkness of my studio. In this manner I was able to preserve my line character better, and if I needed to, I could also enlarge or shrink my original to suit the needs of my finish. This method also enabled me to do separate drawings of different elements in my work, and project them and trace them at different sizes to create the right montage on my final support; I did not have to first complete a single drawing with all of the elements in their correct places before rushing into my finish. At the time, I was using an old workhorse of a machine, the Artograph DB400, which, as nice as it was for its time, did have some drawbacks. Firstly, the original sketches to be projected could not be larger than 10 ½ X 10 ½ inches, otherwise they could not fit inside the machine; this often led to me cutting up my drawings into sections and projecting and tracing the parts piecemeal. Secondly, the design of the machine, with a heavy projection unit cantilevered over my drawing table, caused the head of the machine to dip closer to my work surface than its rear did, thereby distorting the image. Try as I might to level the head with shims, I was never able to get the projection completely square. Eventually, my frustration over the distortion caused me to retire the DB400 early and move on to other methods and tools. Today, there are digital projection units, including some made by Artograph, which are likely a much better alternative to opaque projectors.
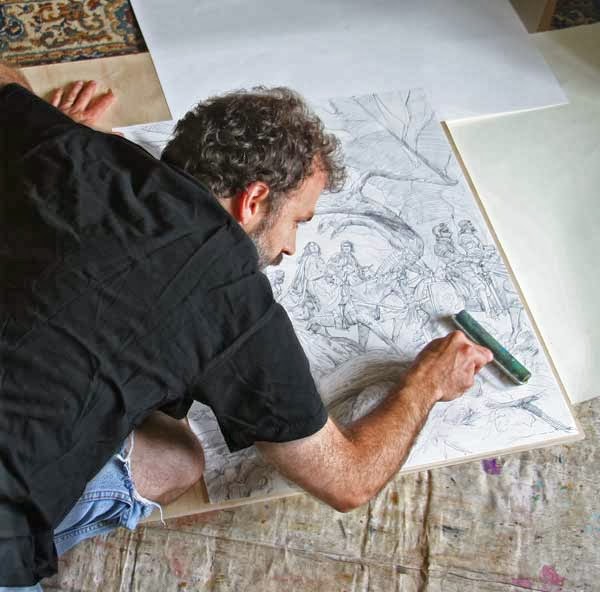 |
| Donato Giancola using a brayer to level a drawing he has adhered to a panel. |
The option I turned to after shelving my projector was what I came to refer to as the "Donato Method," so-called after the illustrator Donato Giancola, who introduced me to the idea. Early in his career, Donato had devised a time-saving shortcut for transferring his drawings to panels – he simply photocopied his originals, and glued them to a sheet of hardboard or plywood, and painted on top of this. I personally cannot vouch for the durability of this technique, but I can say that he made every attempt at promoting the longevity of his works. He would use acid free paper that he would buy from an art supplier, and put that in the photocopiers at businesses which offered blueprinting services or large-format copiers, and adhere the paper to panels using acrylic gel medium. My guess is that the most vulnerable part of his method is the copied image itself, which, if it did happen to fade, would likely have no lasting impact on the finished work, and may actually be a desirable side-effect of the process. I used the "Donato Method" for many years, and I have to say it does offer many benefits. It is quick, it preserves the character and charm of the original drawing, and it preserves the original drawing itself, which, if by any chance something goes terribly wrong, can be copied again. By retaining the original sketch, you also have another piece of artwork to sell if here is a market for your drawings. (My description of Donato's method is perhaps over-simplified. To read more about the technique, visit Donato's website, where he describes his process in more detail).
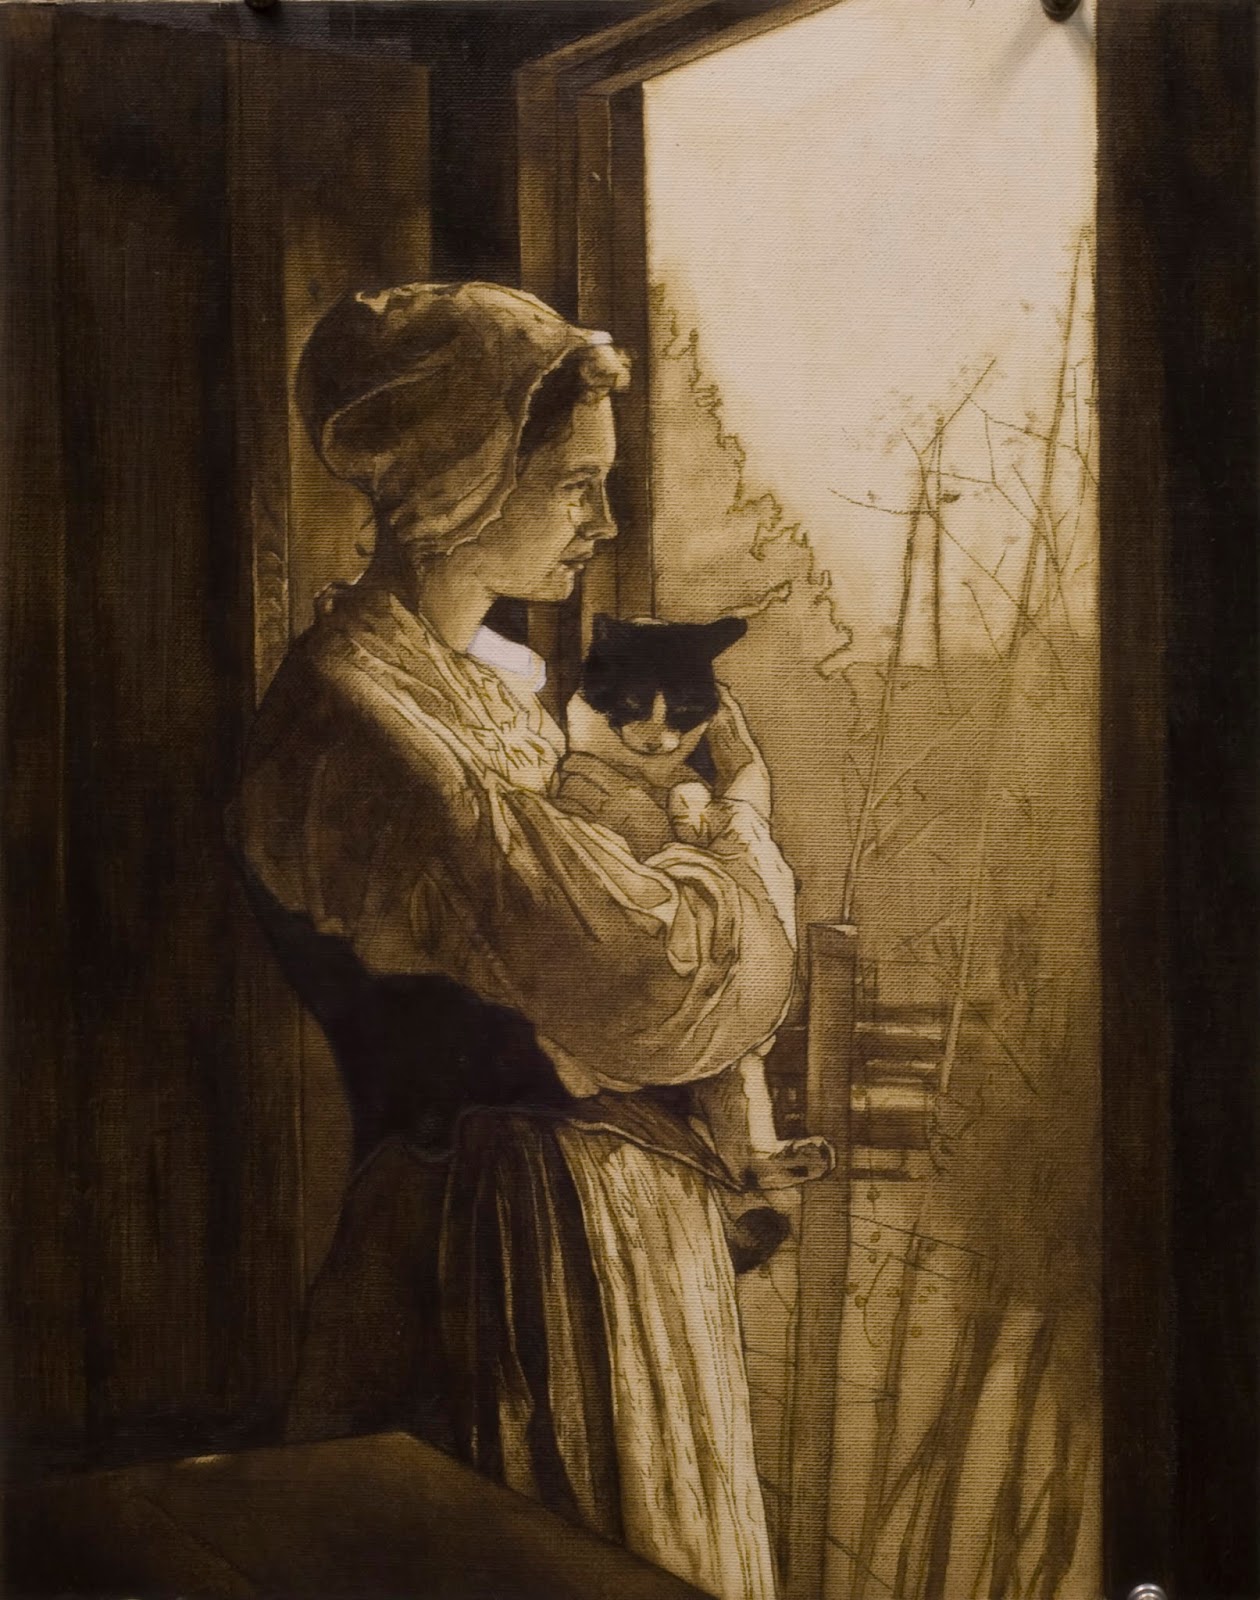 |
| At this stage in one of my paintings, I have established the values of my finished work. The dark, thin linework, like that seen forming the contours of the trees in the background, were done through an oil paint transfer sheet. |
Several years ago, after reading Mark Walker's article "Bouguereau at Work" (available online at the Art Renewal Center), I switched to a method which Bouguereau favored, and which was apparently popular in France in the late 19th century. Basically, this particular process for transferring drawings is much like the method of using transfer paper I described earlier, except instead of using a sheet of paper covered with charcoal or graphite, a transfer sheet of oil paint is employed. This technique, as recorded by the artist Jehan Georges Vibert in his book The Science of Painting is described as follows:
. . . instead of using paper rubbed with black or red chalk, or white lead or lamp black, the tracings on which have the disadvantage of disappearing as the painting proceeds and sometimes soiling the tones, it is preferable to prepare a tracing paper of the shade desired by rubbing oil colour mixed with siccative on an ordinary piece of tracing paper. In order that very little colour may remain, any excess should be well wiped off with a rag pad.
The layer of colour being very thin and very siccative, this kind of paper is only serviceable for a few hours.
Its use has great advantages : the tracings obtained from it when dry look as if painted with a very fine paint brush ; they do not run when painted with new colour – they may even be done over with semi-liquids or glazings ; and they bring no foreign body into the painting. For designs on stuffs, tapestries or other ornaments which have to be traced on backgrounds, and which require going over, this kind of tracing is very convenient, because by doing it with the exact tone, there is no need to repaint the tracing.
Personally, I like this method a lot, and for precisely the reasons Vibert suggested. I particularly like the fact that, by not introducing a new material to my paintings, these painted outlines are not going to damage the longevity of my work. When I have employed this method, I have used raw umber oil paint spread on tracing paper using a paper towel. I do not add any medium, and the lines dry to the touch within half a day. The one negative to this, however, is that the paint transfers very easily to canvas, and can leave the light remains of pigment on the crests of the weave, so I tend to clean up the transfer with a dry brush before allowing it to set.
| A transfer done using a homemade pastel sheet. |
Of course, another option is just to re-draw the sketch directly on the work surface, which I have also done many times before. One method is to use gridding, by which the original can be superimposed with a framework of squares – drawn directly on the original or overlaid on a piece of clear acetate – and transferred to a corresponding framework of squares on the canvas (see Enlarging a Drawing & Squaring Off). But perhaps my favorite, at least in terms of the outcome, has been to place my original alongside my work surface and using sight-size to redraw my original concept on the canvas directly in thinned oil paint.